

Wrapper features
Below is a, non-exhaustive, list of what the wrapper supports:
| Feature | Description |
|---|---|
| Graphical desktop | Hosts a complete graphics environment available via a web page or VNC |
| X11 sharing | Sharing of the graphic environment between the container and the host |
| Workspace | Persistent and shared workspace with the host |
| Update-fs | Permission sharing between the container and the host |
| OpenVPN connection | Opening an isolated OpenVPN tunnel dedicated to the Exegol container |
| WireGuard VPN connection | Opening an isolated WireGuard VPN tunnel dedicated to the Exegol container |
| Shell logging | Recording of sessions (input and output) in log files with date and time |
| Network modes | Different network configurations for container isolation and connectivity |
| Shared timezones | Sharing the host's timezone configuration |
| Exegol-resources | Easy access to a collection of resources and tools |
| My-resources | User space dedicated to customization |
| Volume sharing | Support for specific volume addition |
| Port sharing | Support for port publishing |
| Env. variables | Support for environment variable configuration |
| Device sharing | Support for hardware sharing |
| Custom hostname | Support for customizing a specific container hostname |
| Comments | User can add any text comments to the container |
| Capabilities | Support for adding specific capabilities |
| Privileged | Support of the privileged mode |
| Multi-architecture | Support for AMD64 and ARM64 architectures |
| Local image | Customized local image building |
| Remote image | Pre-built image available for download |
| Custom images | Enterprise Using different images names |
| Custom registry | Enterprise Pre-built image available for download |
| Command execution | Execution of specific command |
| Daemon execution | Support of the command execution in the background |
| Temporary containers | Support for command execution in a dedicated and temporary environment |
Exegol uses Docker images and containers. Understanding the difference is essential to understand Exegol.
- image: think of it as an immutable template. They cannot be executed as-is and serve as input for containers. It's not possible to open a shell in an image.
- container: a container rests upon an image. A container is created for a certain image at a certain time. It's possible to open a shell in a container. Careful though, once a container is created, updating the image it was created upon won't have any impact on the container. In order to enjoy the new things, a new container must be created upon that updated image.
Features
The Exegol wrapper has many features to automatically and transparently manage different configurations to facilitate the use and creation of docker containers.
Desktop

On some systems, it may be difficult to have or share an X11 environment. Some users prefer to have a full graphical desktop environment rather than just graphical applications.
To meet this need, Exegol is able to host a complete graphical environment within its container since version 4.3.0 of the wrapper and 3.1.2 of the images.
This environment can then be made available to others in a variety of ways. The default protocol is currently HTTP, but the user can change the configuration to use the VNC alternative.
This feature can be enabled manually with the option --desktop of the start action.
The default behavior and configuration of the desktop mode can be changed in the configuration of Exegol.
Desktop access is protected by PAM authentication. To log in, it is essential to retrieve the login credentials and the URL where the desktop is accessible. These details can be obtained from the container's information, either at the time of container launch or by using the following command :
exegol info CONTAINER_NAME⭐ Container summary
┌──────────────────┬───────────────────────────────────────┐
│ Name │ gui │
│ Image │ nightly - v.d34db33f (Up to date) │
├──────────────────┼───────────────────────────────────────┤
│ Credentials │ root : iozLHIjJFxoOLTTaNymO50uKT2RlvI │
│ Remote Desktop │ http://localhost:58089 │
│ Console GUI │ On ✔ (X11) │
│ Network │ host │
│ Timezone │ Off 🪓 │
│ Exegol resources │ On ✔ (/opt/resources) │
│ My resources │ On ✔ (/opt/my-resources) │
│ Shell logging │ Off 🪓 │
│ Privileged │ Off ✔ │
│ Workspace │ Dedicated (/workspace) │
└──────────────────┴───────────────────────────────────────┘X11 sharing (GUI)
By default exegol configures the new container and host to allow the execution to the display of graphical window launched from an exegol container. This is achieved through X11 sharing.
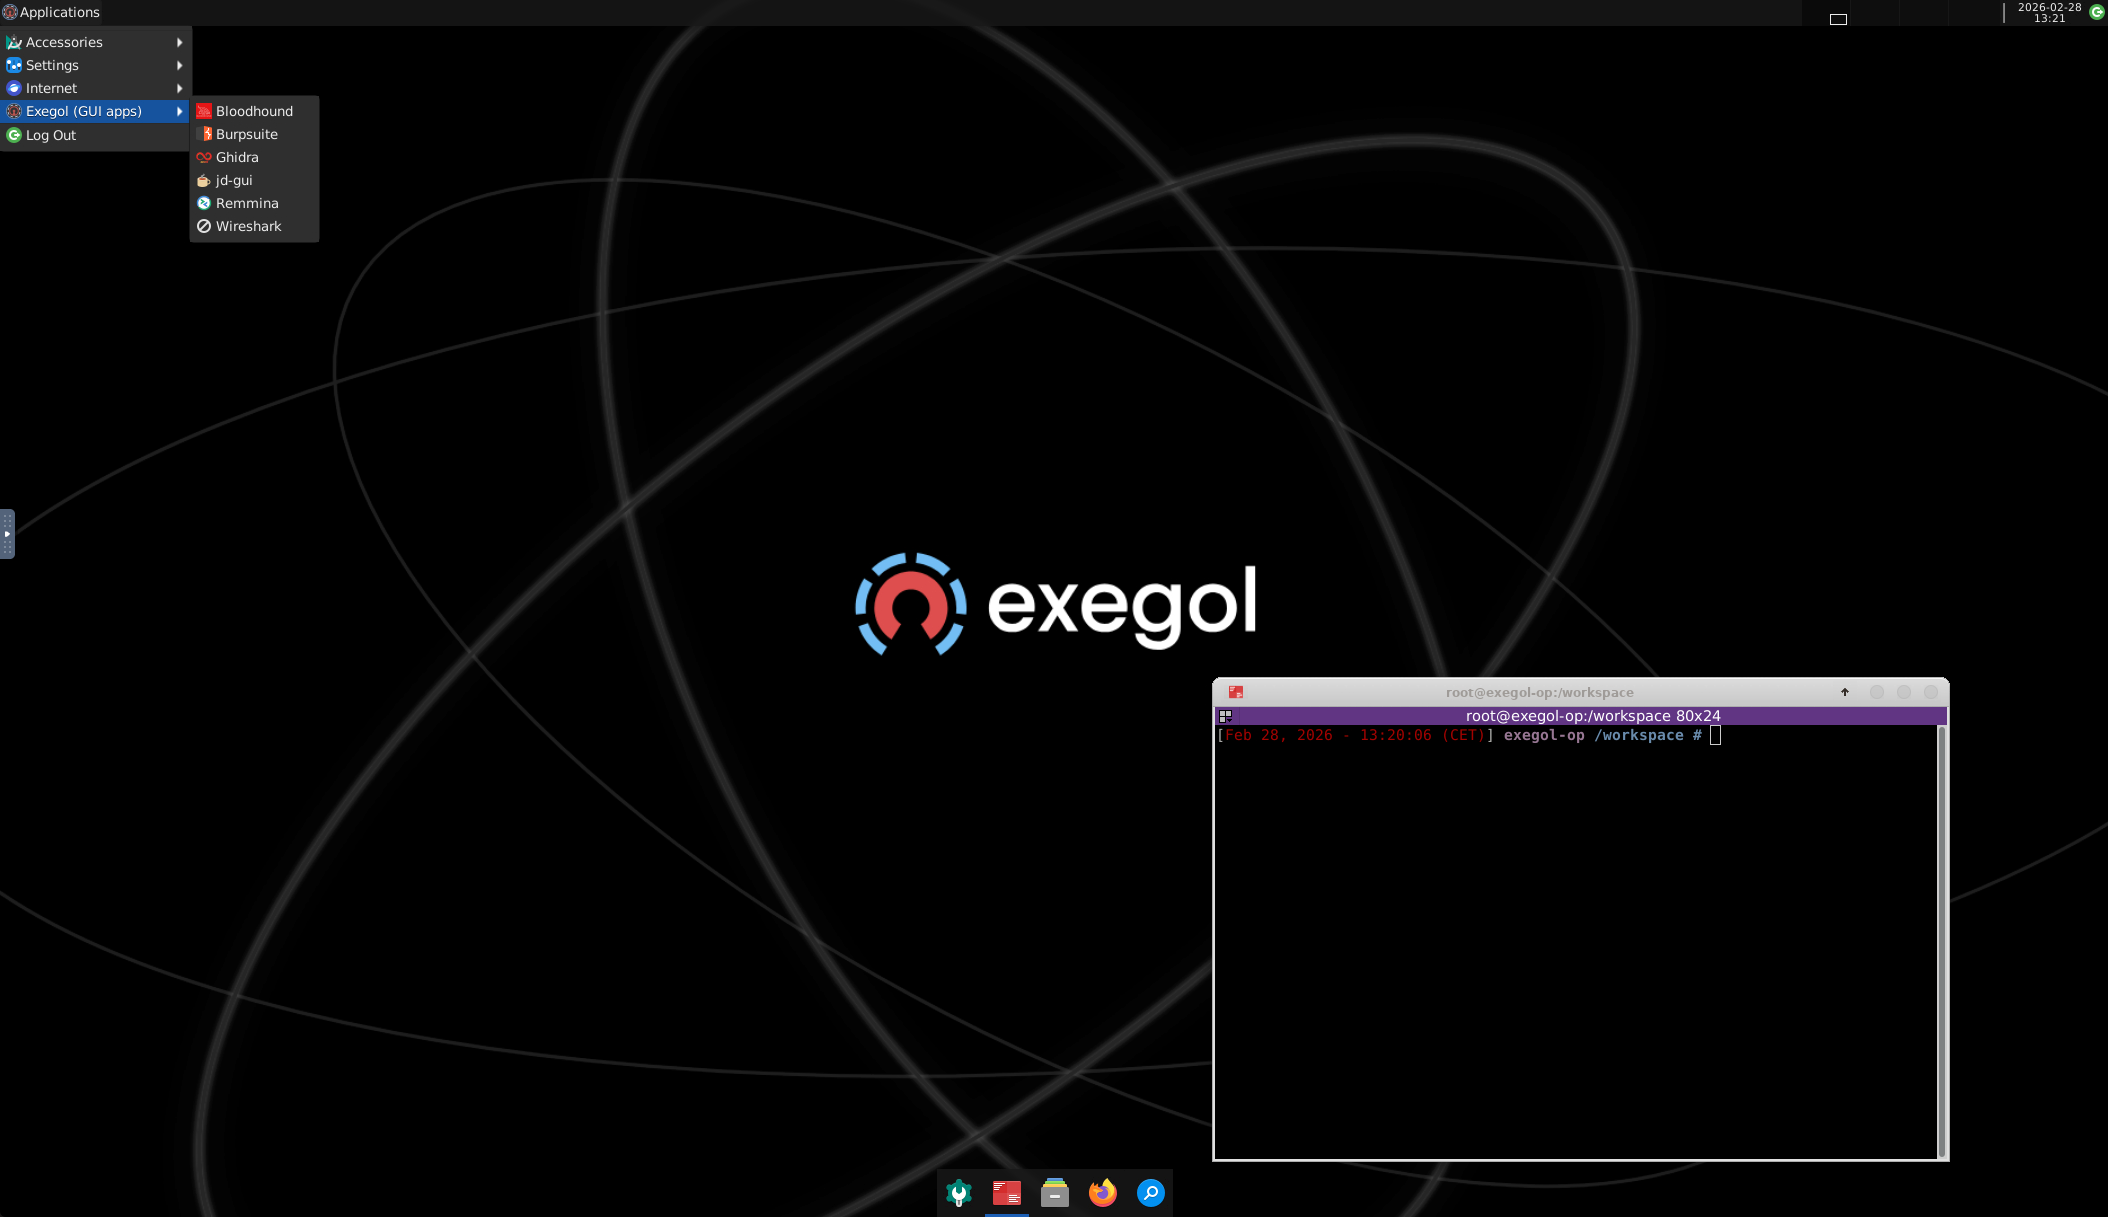
For example, if bloodhound is launched in an exegol container, the graphical window (GUI) will be displayed in the user's graphic environment.
This feature can be disabled manually with the option --disable-X11 of the start action.
Workspace
Exegol always creates within a container a persistent workspace (even after deleting the container) and shared with the host.
By default a folder will be created on the host and shared with the container. This folder will be created in ~/.exegol/workspaces/ with the name of the exegol container.
The default location of workspace volumes can be changed in the configuration of Exegol.
The user can also create an Exegol container with an existing custom workspace folder (with already existing data) regardless of its location in the file system.
See the options -w WORKSPACE_PATH and -cwd of the start action for more details.
Update-fs
The root user is used by default in Exegol containers which poses problems of permissions when accessing the project documents from the host. To remedy this without compromising, a shared permission system exists allowing the host user to have read and write access to files created from the container.
This system is automatically activated when a new default workspace is created.
When the user uses an existing custom folder as workspace, this system is disabled by default! This feature can be enabled by default by changing the configuration of Exegol of the start action ) but it will lead to the modification of the folder and its sub-folders permissions (as g+rws).
If the user does not have the rights to perform such an operation, a sudo command will be proposed to the user that he will have to execute manually to apply the necessary permissions for the proper functioning of the functionality (as chgrp + g+rws).
When the default configuration of this feature is changed and the update will be enabled by default, the option --update-fs can still be used to manually disable the feature in specific cases.
OpenVPN connection
Exegol supports OpenVPN tunnel configuration to automatically establish a VPN tunnel at container startup.
Exegol supports certificate authentication but also user/password authentication through an authentication file (to allow non-interactive and transparent authentication) with an additional parameter.
When preparing your VPN configuration file:
- All files (CA, user cert, user Key, etc) should preferably be included in a single
.ovpnfile, otherwise a dedicated folder must be prepared (cf. next tip)
A folder can also be used in the case of a multi-file configuration (with relative paths!) and the configuration file must have the .ovpn extension (Only one .ovpn file will be loaded by exegol). For example, the directory structure:
. my_vpn/
|- configuration.ovpn => This file contains the OpenVPN configuration with relative path to the various external files
|- root_ca.pem => Certificat Authority file referenced as `./root_ca.pem` in configuration.ovpn
|- my_user.crt => User's personal certificate file referenced as `./my_user.crt` in configuration.ovpn
|- my_user.key => User's personal key file referenced as `./my_user.key` in configuration.ovpn (password protected file are not supported for non-interactive logon)
And the exegol wrapper command: exegol start --vpn ./my_vpn
- If you're using a login / password authentication, prepare an auth file to enable passive authentification with Exegol (See the option
--vpn-auth VPN_AUTH) - Password protected certificate keys are not supported for passive authentification
- Once the container is created, you cannot move or rename your VPN configuration file
- If you want to update your VPN configuration, you can update the same
.ovpnfile on your host and restart the container withexegol restart - If you want your Exegol container to automatically update its DNS configuration according to the VPN server settings, add this configuration to your
.ovpnfile:
script-security 2
up /etc/openvpn/update-resolv-conf
down /etc/openvpn/update-resolv-conf
See the options --vpn VPN and --vpn-auth VPN_AUTH of the start action for more details.
In the case of a problem, to troubleshoot a VPN connection, OpenVPN logs can be retrieved within the container in the file /var/log/exegol/vpn.log.
If you want to create a container that is able to start VPN manually, you can create your container with the following parameters: exegol start --vpn ''
WireGuard VPN Pro Enterprise
Exegol supports WireGuard VPN tunnel configuration to automatically establish a VPN tunnel at container startup (since Exegol images version 3.1.8).
To configure a WireGuard VPN, your configuration file must have the .conf extension.
See the options --vpn VPN.conf of the start action for more details.
WireGuard logs can be retrieved within the container in the /var/log/exegol/vpn.log file.
If you want to create a container that is able to start VPN manually, you can create your container with the following parameters: exegol start --vpn ''
Shell logging
Within the framework of a mission, it is necessary to log all actions performed during a pentest, red team etc. To meet this need, Exegol has a feature to automatically record everything that is displayed (stdout / stderr) but also all entries (stdin).
See the option --log of the start action to enable the feature.
When the option is enabled upon creation of a new container, all shells created for this container will be automatically logged.
If the container was created without this option, the shells can still be logged individually by adding the option in the start command of each shell.
The date and time of each command is displayed thanks to the PS1 of zsh.
The logs are automatically saved in the /workspace/logs folder. Each log file is automatically compressed with gzip at the end of the session to optimize disk space. The automatic compression of log files can be disabled manually with the start action
--log-compress parameter or change the default behavior in the Exegol configuration file.
When the default configuration of the log compression is changed from the config file and the feature will be disabled by default, the option --log-compress can still be used to manually enable the feature in specific cases.
The logs should NOT be consulted from the exegol container but from the host to avoid loops and duplication of data in the logs.
There are (since exegol images version 3.0.0) different methods of shell logging. The shell logging method can be selected manually with the start action--log-method parameter or by default in the configuration file of Exegol.
The shell logging method asciinema is available from exegol images version 3.0.0. This new mode allows to consult sessions in video format taking into account the interactive environment. It is also possible to manually upload and share recordings, useful for demonstrations for example
Here is a quick demonstration:
To view/replay the logs from your host, you must install asciinema on your host machine.
- Logs in
.gzformat can be replay directly without unpacking them with the command:gunzip -c <filename_shell.asciinema.gz> | asciinema play - - To display the whole session without the "video" mode, it is possible to use the command:
asciinema cat <filename_shell.asciinema> - When you share or play an
asciinemavideo, you can copy and paste any command/text it contains.
Network modes
By default, containers created by Exegol use the host network mode, which means that the network interfaces of the host are shared with the container.
This configuration is useful to:
- dynamically open ports and services
- have a low level access on a physical network (some operation might need privileged mode)
- share a unique ip address on the target network
- share a MAC address on the target network (to be considered as a single physical machine)
Even without host mode, ports can be exposed with parameter --port when creating a new container.
However, Exegol supports different network modes to suit various use cases:
host: Container shares host's network interfaces, just like as a classic host process. Use for direct interface access, low-level operations, or sharing host IP/MAC.docker: Uses Docker's default bridge network where all containers (not just Exegol) share the same network space and can communicate with each other. Use for standard cases requiring basic network isolation and port control.nat: ProEnterprise Creates an isolated network with a dedicated /28 subnet (14 IP addresses available) for each container, providing complete isolation from other containers. Use for sensitive operations requiring dedicated network with isolation.disable: Blocks all network connectivity. Use for maximum isolation or offline operations.
See the --network option of the start action for more details.
Full sharing of host network interfaces is only possible on Linux.
Adaptations of this mode exist on Windows and Mac with Docker Desktop or Orbstack, but there might be some limitations.
Shared timezones
For convenience and precision in the date and time of the logs of each command, exegol allows to share the timezone of the host in the container.
This feature is active by default and can be disabled with the option --disable-shared-timezones of the start action.
Exegol-resources
To save time and have at hand many tools, scripts and other resources, exegol maintains a repository exegol-resources contains many updated tools that are available to the host and exegol containers.
This module is not mandatory and can be downloaded later.
If an antivirus is present on your host, be careful to exclude the destination folder of the exegol-resources module before downloading it.
This feature is active and shared by default and can be disabled with the option --disable-exegol-resources of the start action.
My-resources
The my-resources feature is a space dedicated to the user and shared with all the containers. This space allows to store configurations and to install personal tools.
More details on the functionality of the wrapper here and how to take advantage of the customization system here.
Volume sharing
For specific needs, the exegol wrapper allows to add additional custom volumes (type bind mounts) when creating an exegol container.
See the option --volume VOLUMES of the start action for more details.
Port sharing
When the host network is not shared, it is still possible to publish specific ports to expose services or port ranges.
This configuration is compatible even with installations based on Docker Desktop.
This feature allows the user to select:
- a specific network interface (for example 127.0.0.1) or by default all interfaces (0.0.0.0).
- the port to open on the host interface.
- the destination port to be linked in the container.
- the protocol to use, docker supports
TCP,UDPandSCTPprotocols (default is TCP).
See the option --port PORTS of the start action for more details.
Env. variables
Exegol can configure custom environment variables defined by the user.
When the environment variables are defined at the first time of the container creation, these variables will be:
- accessible in the container by all processes
- present during the whole lifetime of the container
The environment variables can be defined when opening a shell in an existing container and will be available only in the user's shell until it is closed.
See the option --env ENVS of the start action for more details.
Device sharing
For the needs of some applications running on physical hardware (such as proxmark3), exegol can supply the container with one or more physical devices.
See the option --device DEVICES of the start action for more details.
This feature is only available on Linux installations!
Windows and MacOS installations are subject to the constraints and limitations of Docker Desktop.
Docker only load shared device at container startup. If you have to unplug / plug again your device it might no longer works until you restart the container with exegol restart <container_name>.
This bug occurs even if the /dev/ttyACM0 device is still present in your container.
Custom hostname
In some environments with OPSEC requirements, it may be necessary to change the hostname of your exegol container.
See the option --hostname HOSTNAME of the start action for more details.
Comments
To add more context information about an exegol container, it is possible to add comments to each Exegol container. The comment of an exegol container can be displayed with the command exegol info <container_name>
See the option --comment COMMENT of the start action for more details.
Capabilities
Exegol supports adding Linux capabilities to the Exegol container to perform tasks that require administrative rights without allowing everything.
This feature gives control to the user to configure his container but giving administrator rights remains a dangerous practice and should be used by experienced users only.
For more details on the capabilities supported by docker check here.
Not all Linux capabilities are allowed by the Exegol wrapper, here is the list of available capabilities:
NET_ADMIN, NET_BROADCAST, SYS_MODULE, SYS_PTRACE, SYS_RAWIO, SYS_ADMIN, LINUX_IMMUTABLE, MAC_ADMIN, SYSLOG
For all other needs, consider the privileged mode.
Privileged
For particular needs, it is sometimes necessary to have privileged rights to perform certain actions. If Exegol does not allow you to have specifically the rights necessary, you can configure your container in privileged mode to get full administrator rights.
This configuration is particularly dangerous because it gives the container full admin control over the kernel of the host machine.
Use this option only if you know exactly what you are doing!!
If the need is specifically identified, consider adding capabilities instead!
See the option --privileged of the start action for more details.
Multi-architecture
Exegol supports ARM64 architecture (in addition to the classic AMD64) since version 4.1.0 of the wrapper and 3.0.0 of the images.
This support allows you to fully use exegol on hardware equipped with an ARM processor (such as Mac M1 / M2 but also some Raspberry Pi).
Exegol only supports 64-bit ARM architecture! If your ARM processor supports 64-bit, make sure your OS is also installed in 64-bit version to use exegol!
For experienced users or developers, it is possible to explicitly modify the architecture used by the Exegol wrapper with the general option --arch ARCH.
But be careful, the modification of this parameter can lead to malfunctions!
Local image building
The wrapper allows users to build custom Exegol images locally. This feature is useful for:
- Customizing the image with specific tools or configurations
- Building for a different architecture than your host
- Testing new features or modifications
Building images locally can be challenging and time-consuming. We recommend using pre-built images (exegol install) unless you have a specific need to build locally.
See the build action for detailed usage and options.
Remote image pulling
To save time, pre-built images are available for download. These images can be downloaded and installed / updated from the exegol wrapper with the install and update actions.
Custom images Enterprise
Enterprise users can configure custom image names to be recognized by Exegol. This configuration allows the wrapper to identify and work with Exegol images that have different names than the official ones. Useful for sharing customized images with your team through a private registry.
To configure custom images, add them to your Exegol configuration file:
Note that images must be pulled manually as they may be in private registries requiring specific authentication.
Custom registry Enterprise
For organizations requiring a complete private registry solution, we offer a managed Exegol private registry service. This enterprise solution includes:
- A fully managed private Docker registry for Exegol images
- Custom Exegol images maintained and updated by our team
- Full integration with the Exegol wrapper
- Automatic updates and maintenance of your private images
- Dedicated support and customization options
- The appropriate NDA and IP agreements, to protect your knowledge and content
This service is ideal for organizations that need:
- Complete control over their Exegol image distribution
- Private, organization-specific Exegol images
- Full integration with their existing infrastructure
- Regular updates and maintenance of their private images
Contact us for a quote and to discuss your organization's specific requirements.
Command execution
The Exegol wrapper does not only allow the opening of interactive shells, it is also possible to execute single commands in several ways.
To see the execution logs of the command, the user must add the parameter -v.
The details of this functionality are detailed in the exec action.
Daemon execution
One of the execution modes can be in the background like a daemon service. In this way the wrapper executes the user's command, for example an application such as bloodhound. The wrapper launches the task in an exegol container and finishes immediately without occupying the user's terminal, leaving the application open.
See the option --background of the exec action for more details.
Temporary containers
Another feature of the exec action is the execution in a temporary container.
In this mode, a temporary container will be created and dedicated to the execution of the command specified by the user.
This mode can be useful to run a given command with the most up-to-date image already installed on the host, for any test or for special privacy needs.
See the option --tmp of the exec for more details.